Saturday 1 August 2015
Knitting a Hat
I only started this hat on Monday, and I used the free pattern here.


The yarn is Zara Melange which is so soft and 100% merino.
I had never used circular needles or double pointed needles before but with a bit of help from you tube and I was away.

On my beloved, who wore it in bed. That makes me happy.
Friday 24 July 2015
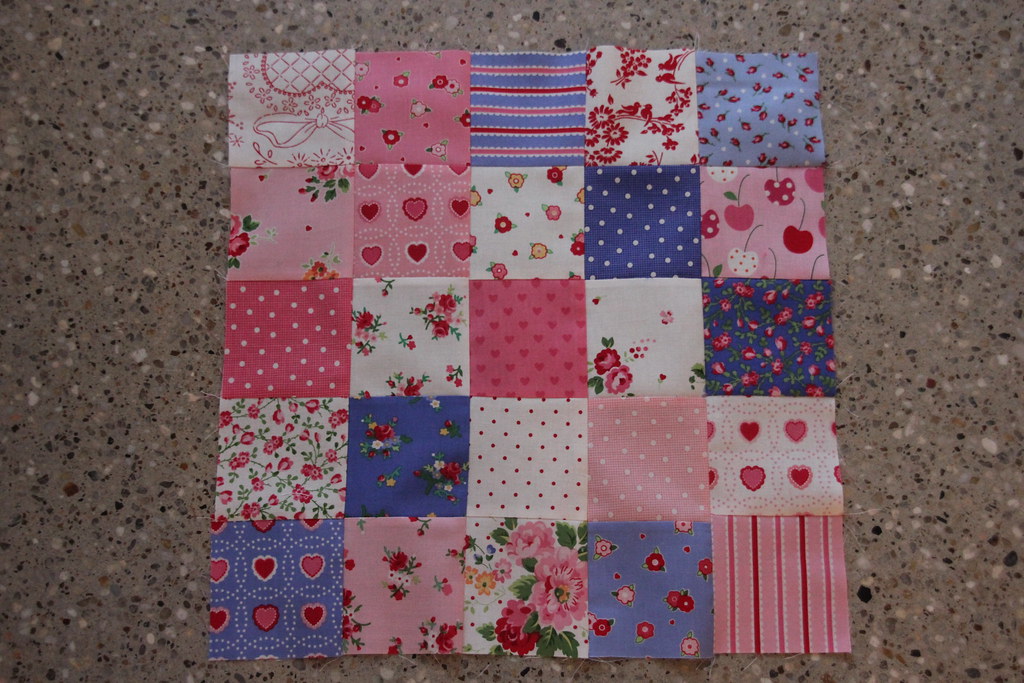
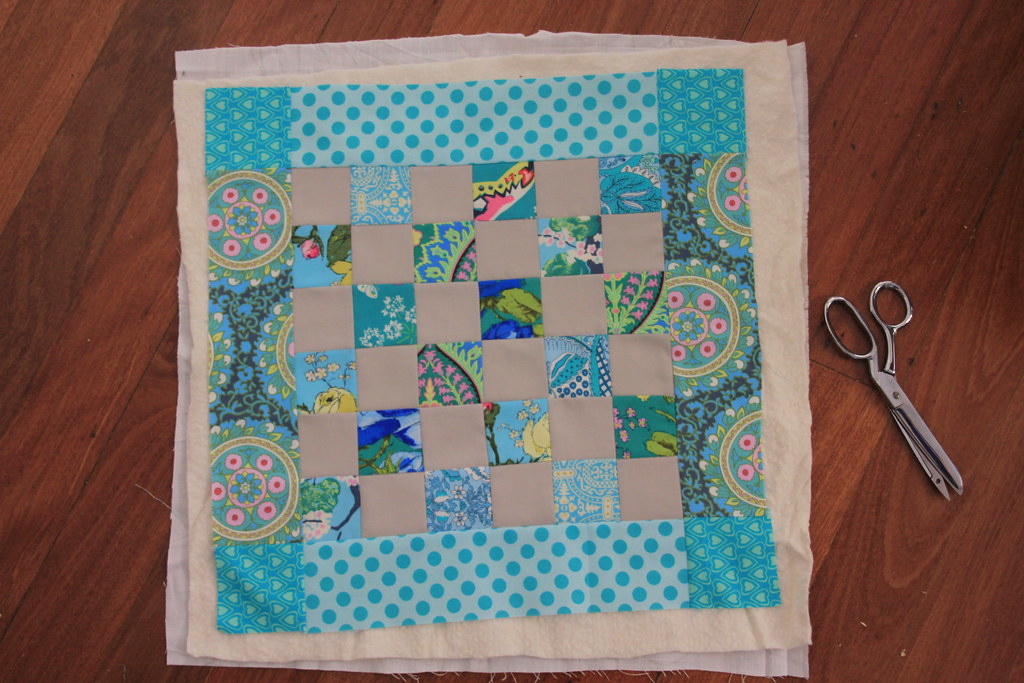
Making a Patchwork Drawstring Bag

I made a drawstring bag out of patchwork for my daughter. She loves everything that is cute.
The fabric was a charm pack from Riley Blake called Snapshots. A charm pack is a number, in this case 32, of coordinating fabrics in squares which are 5" x 5". I cut them into quarters giving me 4 squares of each fabric which were 2.5". I then arranged them and sewed them together to make 6 squares wide and 7 squares high.


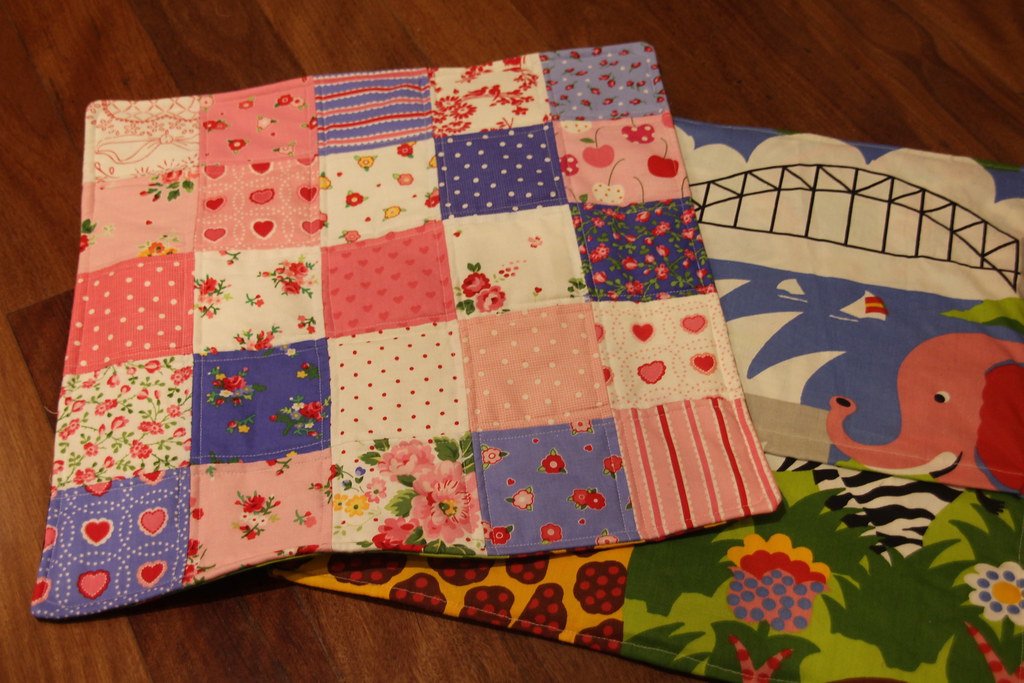
I then quilted it with a pink fabric on the reverse and quilted 0.25" from each side of a seam. This is my favourite quilting for squares. I should branch out and do more lines or something. I have done stippling but I haven't done it for ages.


My 'tube' for the drawstring on each side.

The lining fabrics.

The ribbon I sewed on by hand to hide the horrible raw edge when I sewed the tube on the quilted side.

To finish the bad I sewed the sides right sides together and made the bottom corners rounded. I cut off the excess fabric, turned it the right way out and sewed a line of stitching around the edge of the bag to wide the raw edge inside the bag and just finish it off nicely.


The inside showing the contrasting linings which are the same as the 'back'.
Lastly I used some green ribbon I had lying around to make the drawstrings. I love this bag! My daughter does too and she has suggested she uses it as her library bag at school. So she must like it!

Saturday 18 July 2015
Visit to Liberty Of London
I got off the tube at Oxford Circus and was going to Hamleys Toy Shop when I decided to take a tiny detour off Regents Street to the iconic Liberty Department Store.
It is an absolutely stunning shop inside and out. I went to haberdashery on the 3rd floor. I stealthily took photos, risking life and limb for you dear reader.
I share with you the few I have which I hope give you a taste until you are next in the great capital.


Jars of liberty fabric covered buttons, £11.95 for not very many....

Beautiful kits!


Beautiful Fabric Display

Buttons

A stags head of course!

Yum
So I had a lovely time feasting my eyes on all the goodies. I even bought some fabric! They did have some precuts but not very many. They had some hexagons and some 2.5" squares. I got 36 squares for £9.95 in a pack. Mine are pink and they appeared to have that or all different colours in one pack. The hexagons were £14.95 for 30. I nearly bought that but managed to control myself. I will let you know what I make with the squares soon!
Friday 5 December 2014
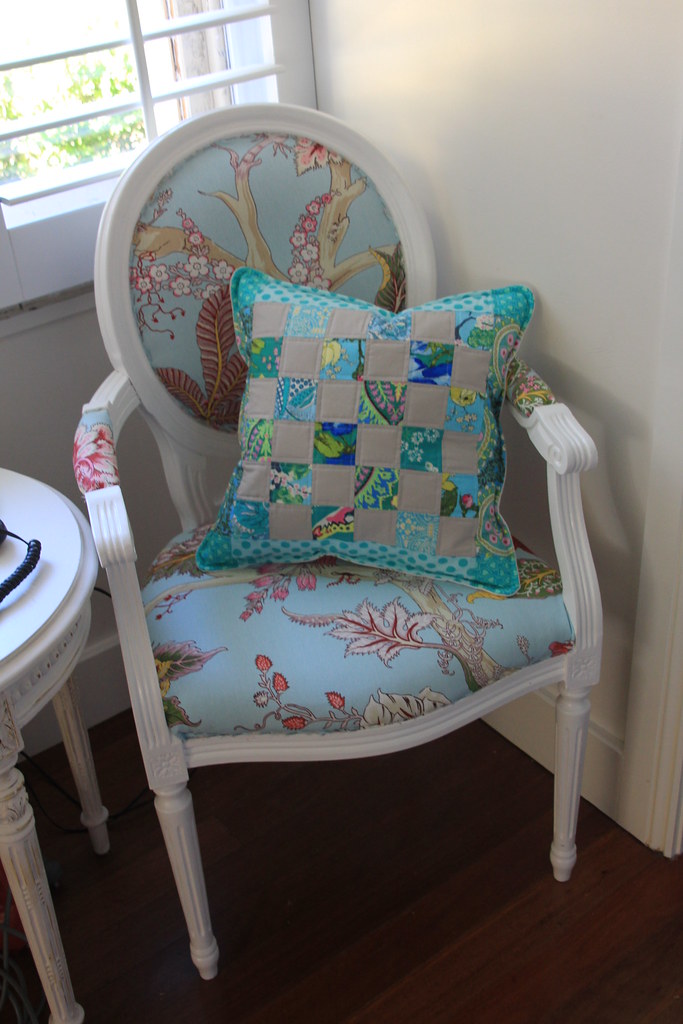
Making cushion covers for Little People
I used up some of the last of my Children at Play by Sarah Jane for the first one.
The other side was taronga zoo fabric with an envelope opening.
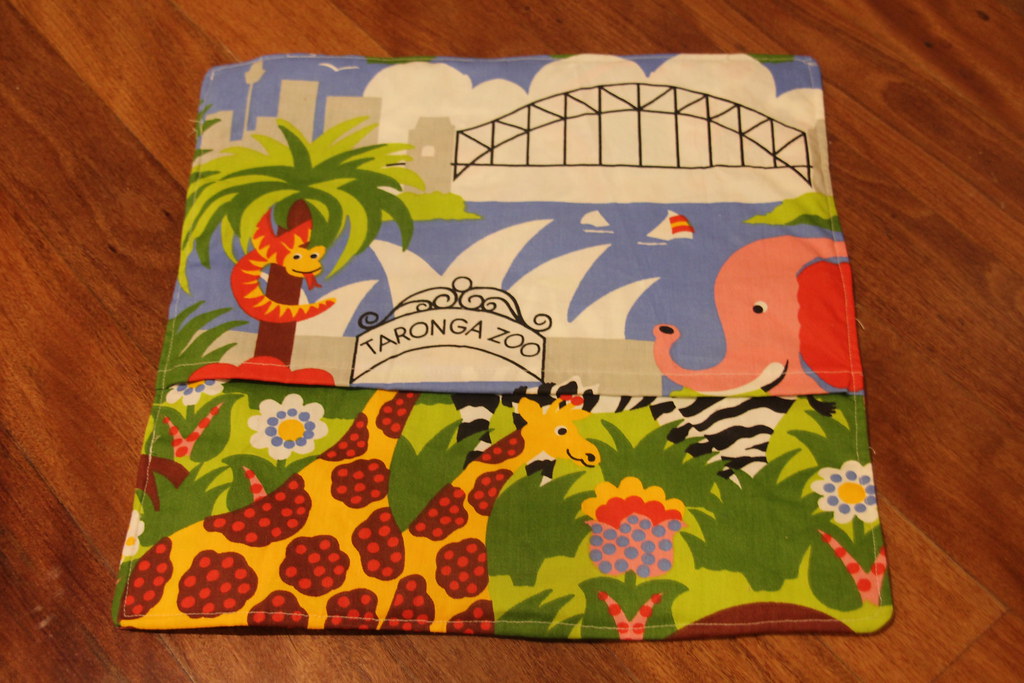

So here are the new cushion covers. I wish I had taken pictures with them filled with cushions!
Friday 14 November 2014
Present for a Special Person


This gift was hand delivered today by my son and I think the recipient was happy.
Friday 7 November 2014
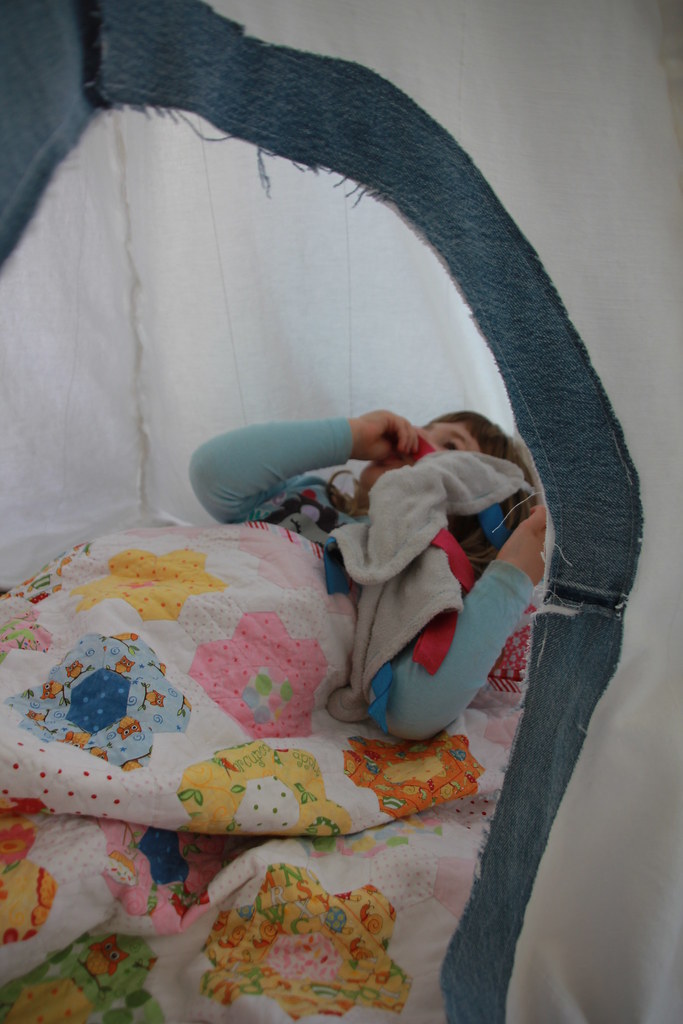
How to make a Kids Teepee
I want to get back into blogging regularly and see if my readers are still out there!
I have been making stuff and repurposing stuff so I do have some material to tell you about.
I have been trying to make a teepee that is easy to put up and doesn't just sag for a very long time.
I looked up in blogland and there were no specifics really about how to get one that can be put up fast by one person. I found at first the teepee just slid down the sticks and was a pain. So I have an answer to how to fix that.
I have looked back at my photos and found that I started the teepee last October - not as long ago as I thought!
The first thing I did was buy 6 x 14mm wooden poles which were about 2.4m long. I think 5 poles might have been easier but I wanted the teepee to be nice and big - not convinced now that that made any difference. Then I cut out 6 triangles from a pair of curtains and thought about how to keep the poles in position. I used tabs at first like on curtains. I quickly decided this would lead to a saggy teepee so made tubes the length of the teepee for the poles to slide into. Here are the tabs.
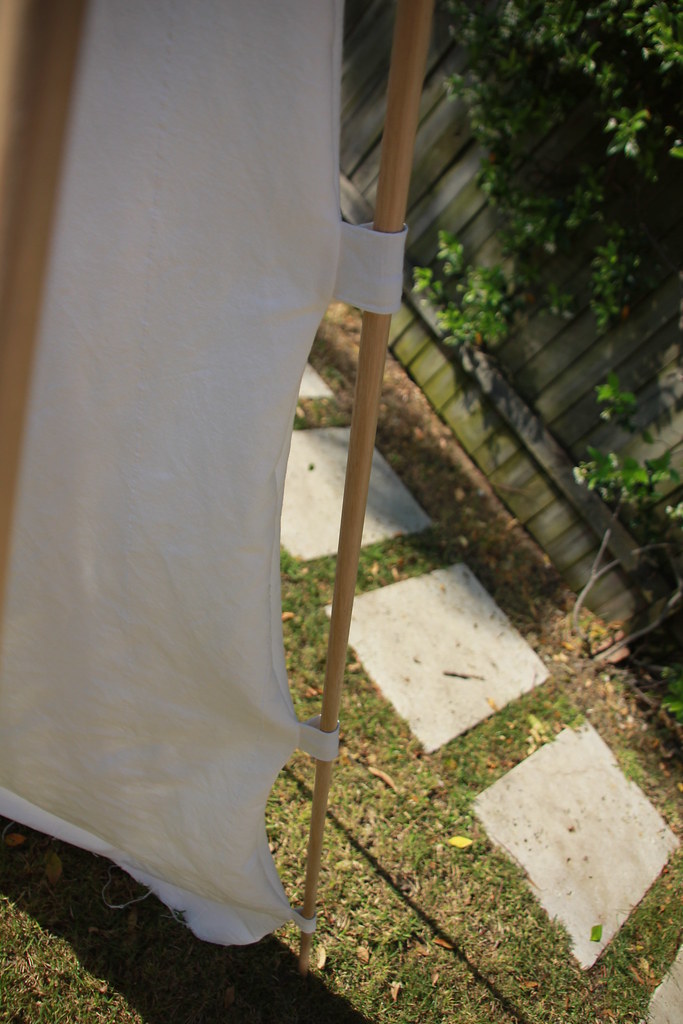
Don't do it like this.
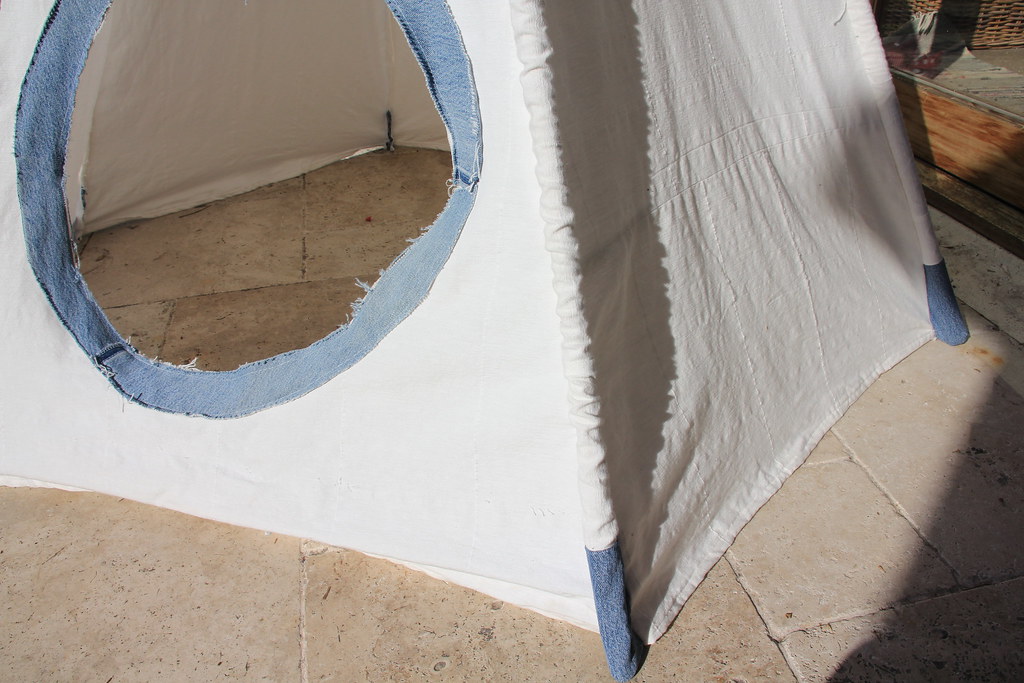
So, once I had taken it apart and made tubes for the poles it looked like this

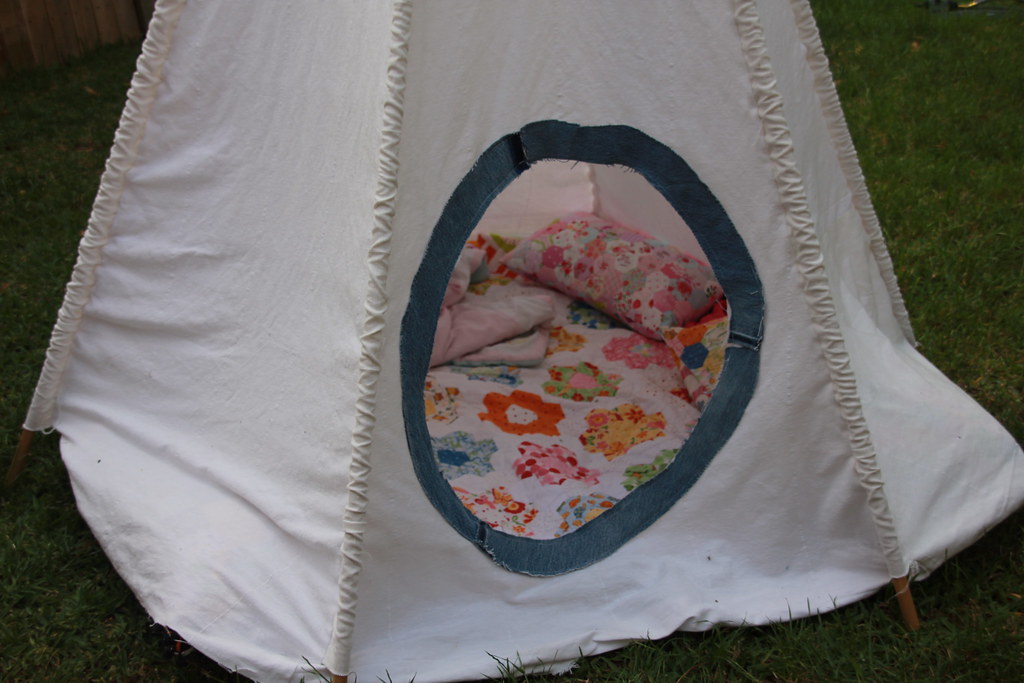
I went for having a hole for a door.
Then I did a denim applique surround for the door.
It occurred to me that they would be too old for it by the time I finished it. Have you had that feeling?
Then a friend found a broken one beside the road (which mostly worked) so I was able to have a good look at it. I had looked at some in shops before but they relied on having rods of wood around the bottom... and I couldn't work out how to do these and be able to still wash it occasionally. Plus I didn't like the idea anyway as cjildren would sit on them and roll on them and it would hurt.
The one she found had the the poles in tubes but they weren't open at the bottom, so I closed up mine. I then worked out where I needed holes in the poles to tie string through (I had already had these but as the poles could move through it was always took ages to get it set up). I also cut the poles shorter as at 2.4m they were too long. Then I used other holes further down the poles to anchor the pole to a spot in the tube. This kept the teepee from falling down the poles.


Totes amazeballs right?
I know it looks wonky but it is just the angle - honestly (or photographer).
So, to recap:
- I found that I needed to sew up the ends of the tubes so the poles stop at the bottom of the teepee.
- Sew or tie the poles into the tubes using the hole in the pole near the top so that the the teepee doesn't slide down and wrinkle up.
- Make holes for string at the point near the top of the poles when you have worked out how high it needs to be to make the sides taut.
This should give you a nice looking teepee which is easy to put up and down!
Good luck!
Tuesday 29 July 2014
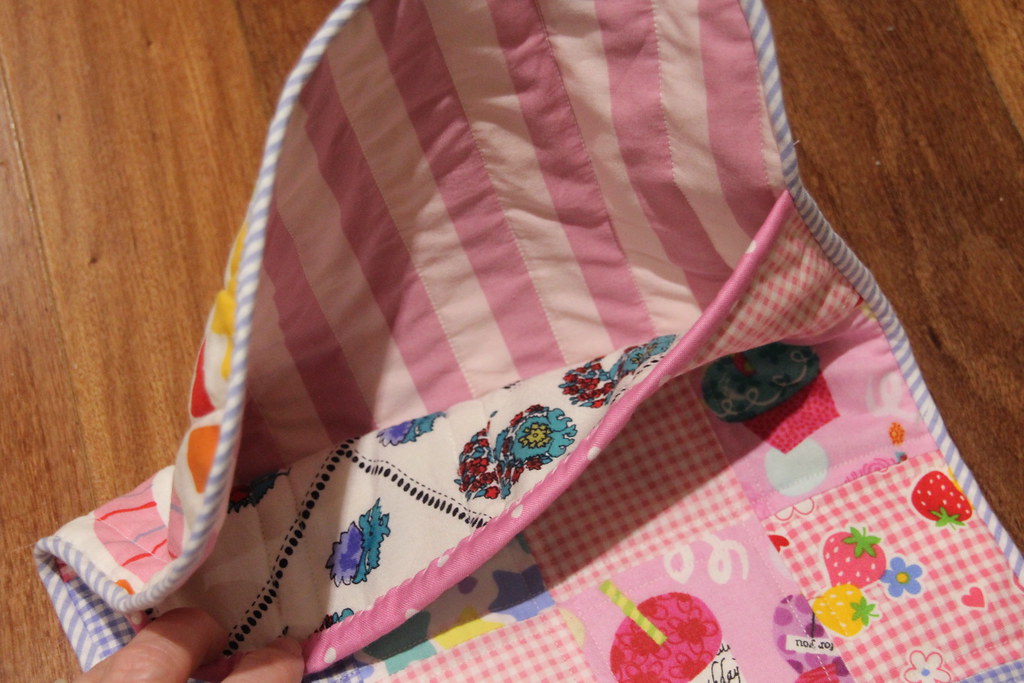
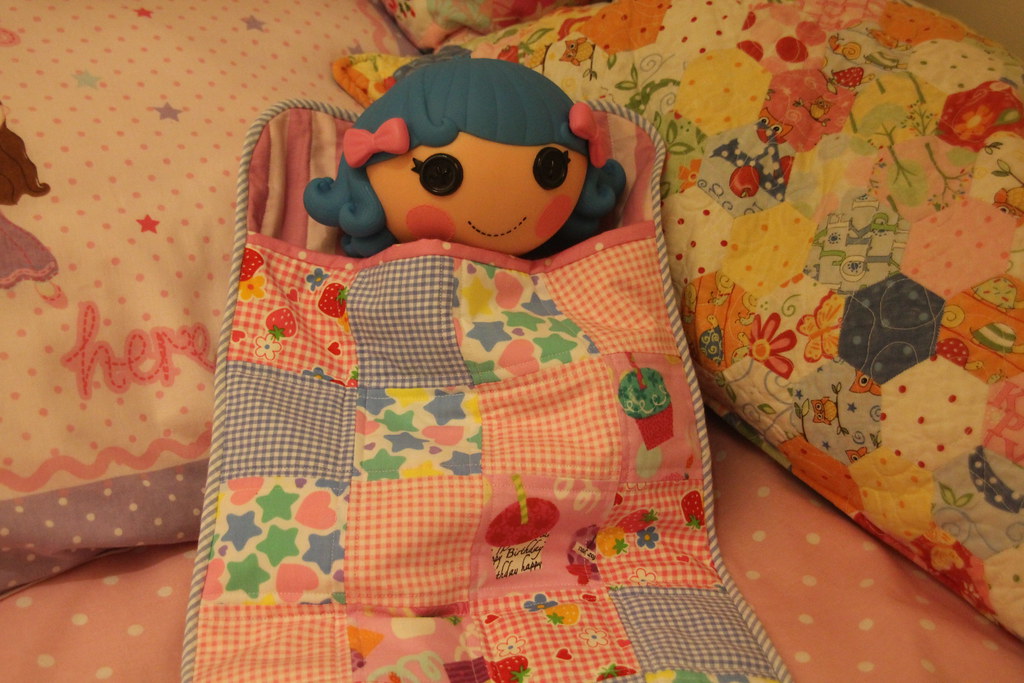
Dolls Sleeping Bag
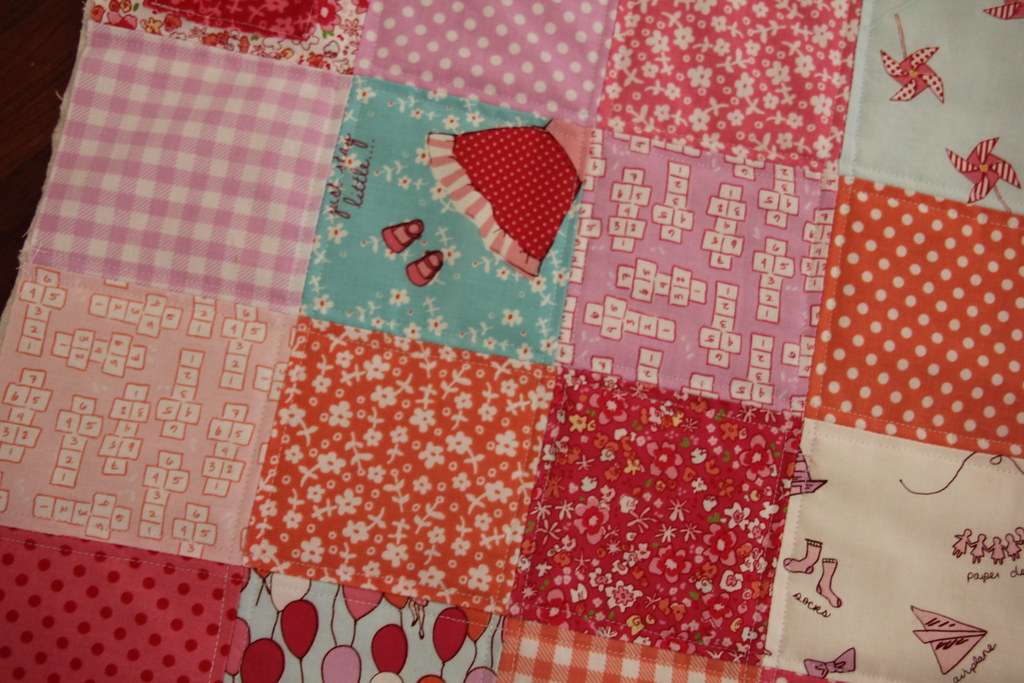
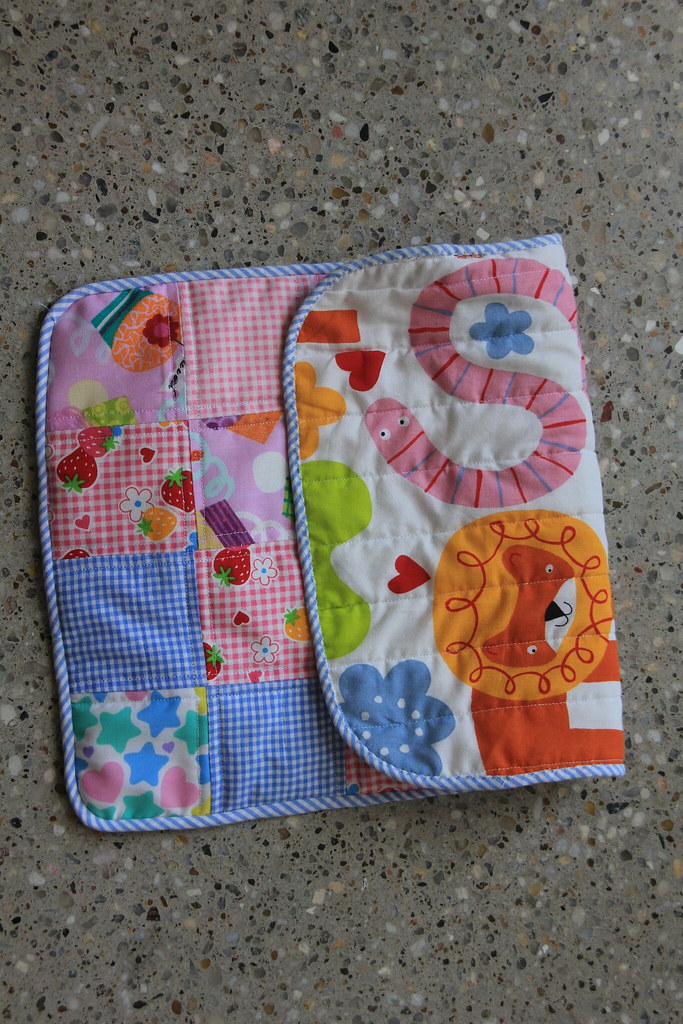
So I finally got around to making another one and I decided to make it a sleeping bag and not just a blanket.
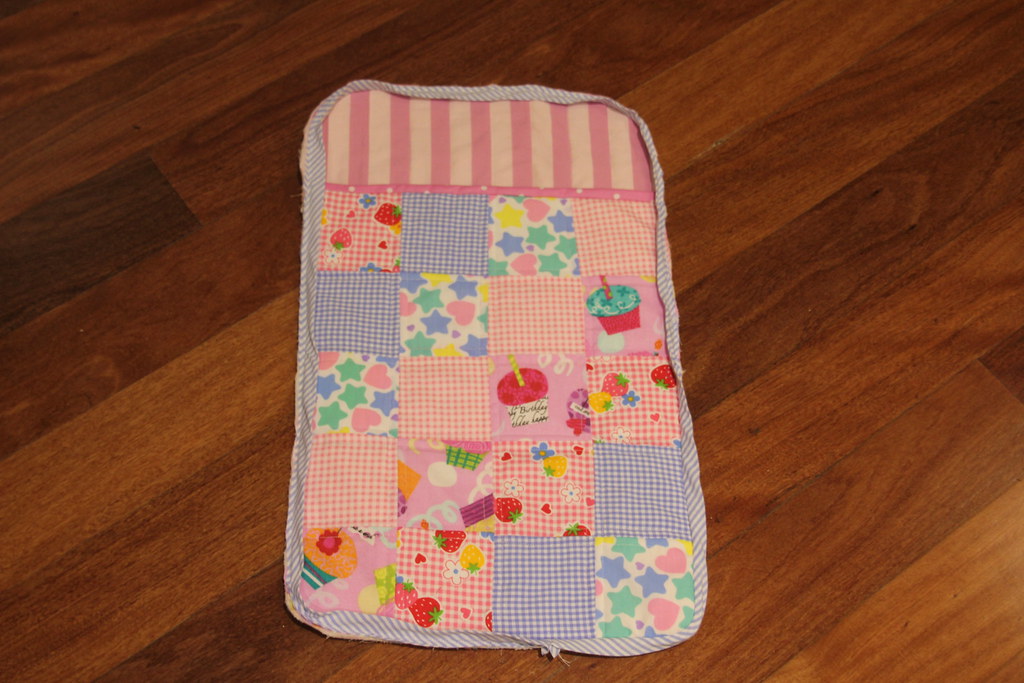
I had to do bias binding because of the rounded corners. I love rounded corners.
The squares I used were 3" square when finished and I cut them into 3.5" strips and used this method here.
And here it is all finished and being enjoyed by lalaloopsy.
Subscribe to:
Posts (Atom)