Tutorial: How to Reupholster a wing back chair
I was incredibly lucky, and after watching various wingback chairs in states of disrepair go for over $100 on ebay, the house almost opposite put two out onto their drive for the council to collect. I asked if I could have them and they were pleased that they were going to be made useful again. I said I was going to upholster them *myself*.
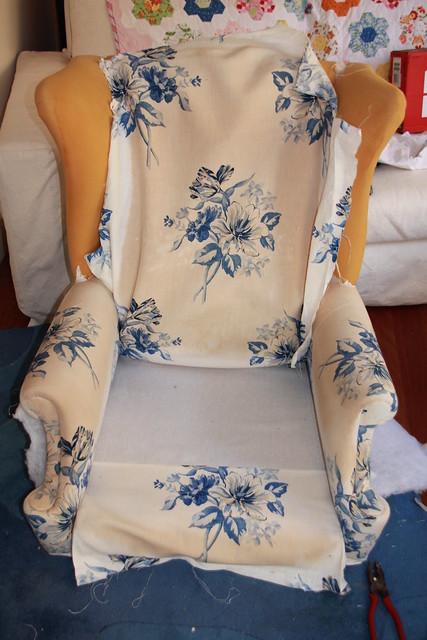
There were two like this which was great as I wanted a pair. I didn't hate the material but it was all stained due to some cleaning chemical that has been used and it had gone yellow over most of it, but not evenly. So it needed changing. I am not sure how old they are but they seem to have been reupholstered once before.
I looked for blogs on how to do it. I found very few, but one or two were really good. I set to work removing the covers.
First I took off the skirt and legs. I didn't get photos of this but it isn't hard. The skirt was stapled on. I kept everything as I went along to use as templates for the new covers.
Then I looked at what was the last piece to go on and it was the back. It was held on with a kind of metal grip so I sort of unbent it all the way round. I removed the fabric and labelled it with '1' as it was the first piece off, and 'back' so I knew what it was. I labelled all pieces as they came off with numbers and names. There was a thin layer of foam underneath which I removed the kept. It was yellowed but I later decided to reuse it rather than have to try to find more.
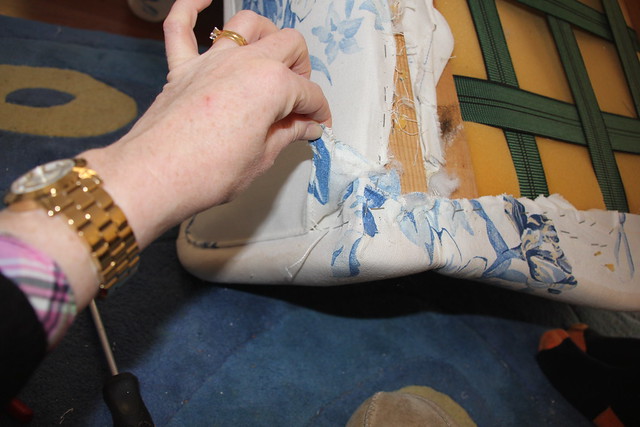
This shows the metal stuff reupholsterers use. I kept all mine and reused it. I mainly used a flat screw driver to get all the staples out and bend the metal parts.
Then I removed the outside of the wings. Here was the only hand sewing I found on the whole thing. The top outside edge of the wing was hand sewn on. There was piping and I left it on the outer wing pieces.
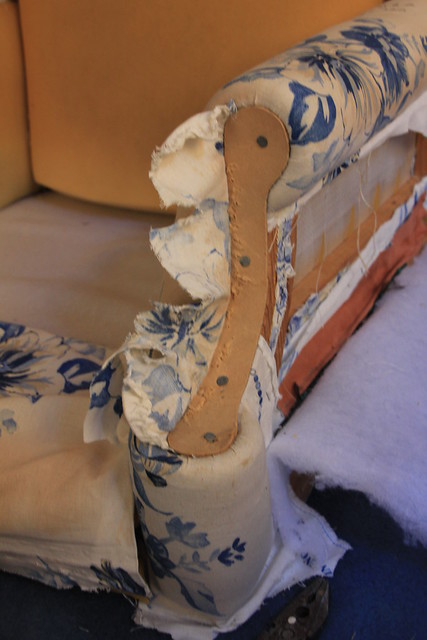
Here is the outer side. See that it has a peice of cardboard stapled on? This is so that the edge stays flat and neat and doesn't show the staples pulling, and redistributes the tension from the staples all along the edge. When I redid this I used cereal packet card which I folded in half. This was also used on the outer wings to keep the shape.
Removing the inside of the wings was easy as it was just stapled down. There was foam formed around the wings so I left that on as I thought I would never be able to redo it.
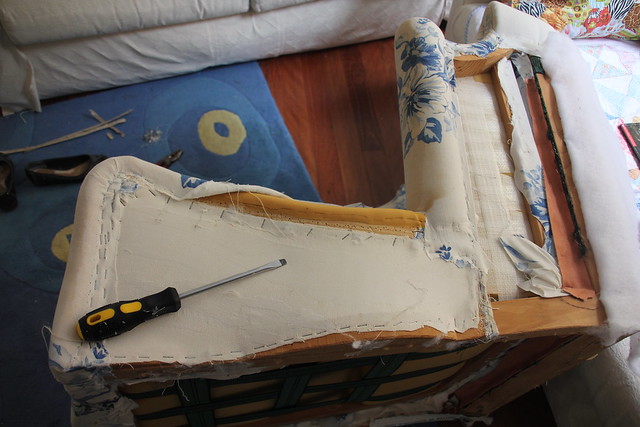
Then I removed the back rest and bottom which was sewn onto a thick piece of white material. I decided to leave the white material where it was and hand sew the new bottom piece in place rather than removing the thick white fabric. Then only the inside arms were left.....
I removed the arm ends (to use the technical term) and found some sort of thin hard board pieces. These were nailed on. I expect this is different for different chairs and you will have to just play it by ear here. I removed the nails but broke the hard board. P daddy had to recut these from hardboard later.
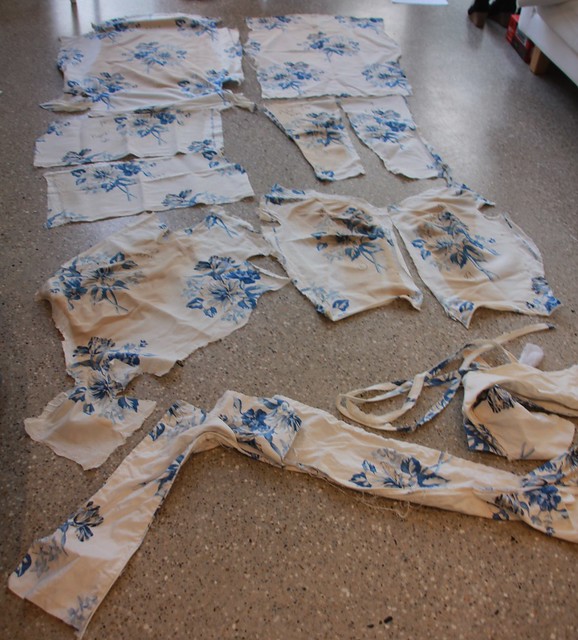
Underneath that it was just all stapled down, so I removed it all and labelled it like all the other pieces. It wrapped around and it would have been really hard to work out how to cut the fabric without keeping the templates. See how brown the fabric was in places - yuk!
I then laid all the pieces out and estimated how much fabric I needed. I ended up buying about 14m I think for both chairs. I think I will have lots left. I got it from a great upholstery fabric shop in Seaforth.
Putting it all back on actually turned out to be easier than taking it off. I had to invest in a pneumatic staple gun first of all. The little hand held one just wasn't strong enough. Luckily we already had an air compressor. Compressors are not that expensive but they can be large and are a serious piece of kit for the diy enthusiast!
I did the back rest and bottom parts and also the arms which I mostly did but left the arm ends until later as these were the tricky bits.
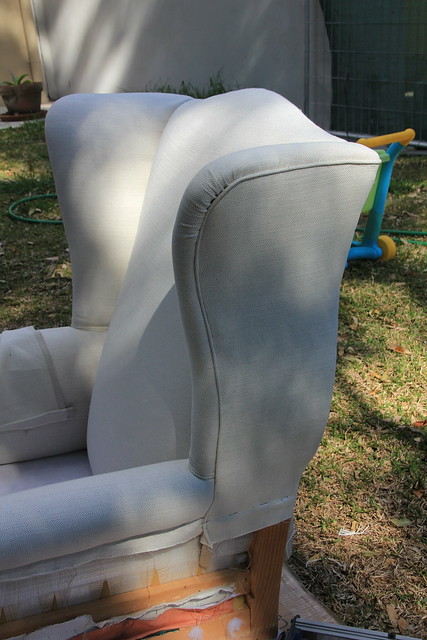
I was really pleased with the outsides of the wings and the piping! I had never done piping before. I used the plastic piping inner from all the old piping which also helped to show me the lengths. I hand sewed the top part of this as that is how it came off when I took it apart.
So later on I did the arm ends. I had a good think about it and I think they turned out ok. Luckily I can make the second chair even better.
Here is the finished article! The skirt was quite easy to make but needed the sewing machine and I didn't take the old one apart, just measured it and it came out ok. Legs back on and hey presto!
I know what you are thinking - I have children and I reupholstered an almost white chair. Yes, I know, but I am going to make a new seat cover which I just haven't got round to yet and arm covers which probably won't be white, and I can do more than one set and these will make it a little more practical.
I found that anyone can do upholstery if they try and give it a go. What can go wrong????


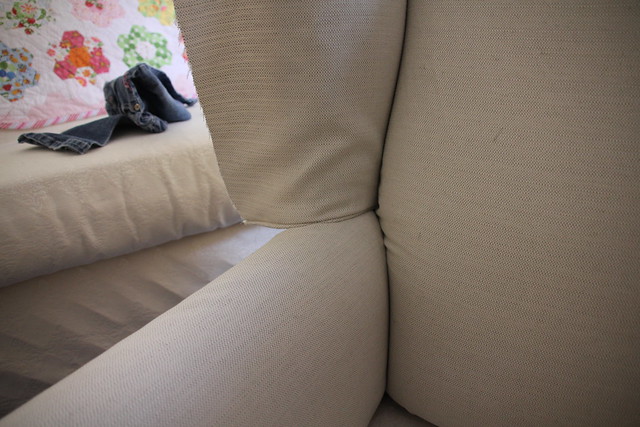


This looks like a heroic deed. I definitely have always been intimidated by this job and you did such a wonderful tidy job! And the floral cushion on the solid chair looks fun. So great.
ReplyDelete